You are wondering how you can set up a private server (VPS) for yourself? You are on a tight budget and maybe don’t want to invest time and money into building your own server. You want to save money and not pay every month for a Digital Ocean Droplet or a Hetzner VPS? Then this is the right blog post for you. In this article I will explain you step by step how to set up your private cloud space and server for FREE with the Oracle Free Tier.
About the Oracle Free Tier
Oracle provides Cloud-Services and offers a quite generous free tier for starters. You get Arm-based Ampere A1 cores and 24 GB of memory usable as 1 Virtual Machine (VM) or up to 4 VMs. Moreover, you get 3,000 OCPU hours and 18,000 GB hours per month. To obtain a free Oracle Webspace you need an account an log in which you can create here: https://www.oracle.com/cloud/free/. You need to provide your credit card information, but you will not be charged anything if you don’t use any paid services.
Creating the Server Instance
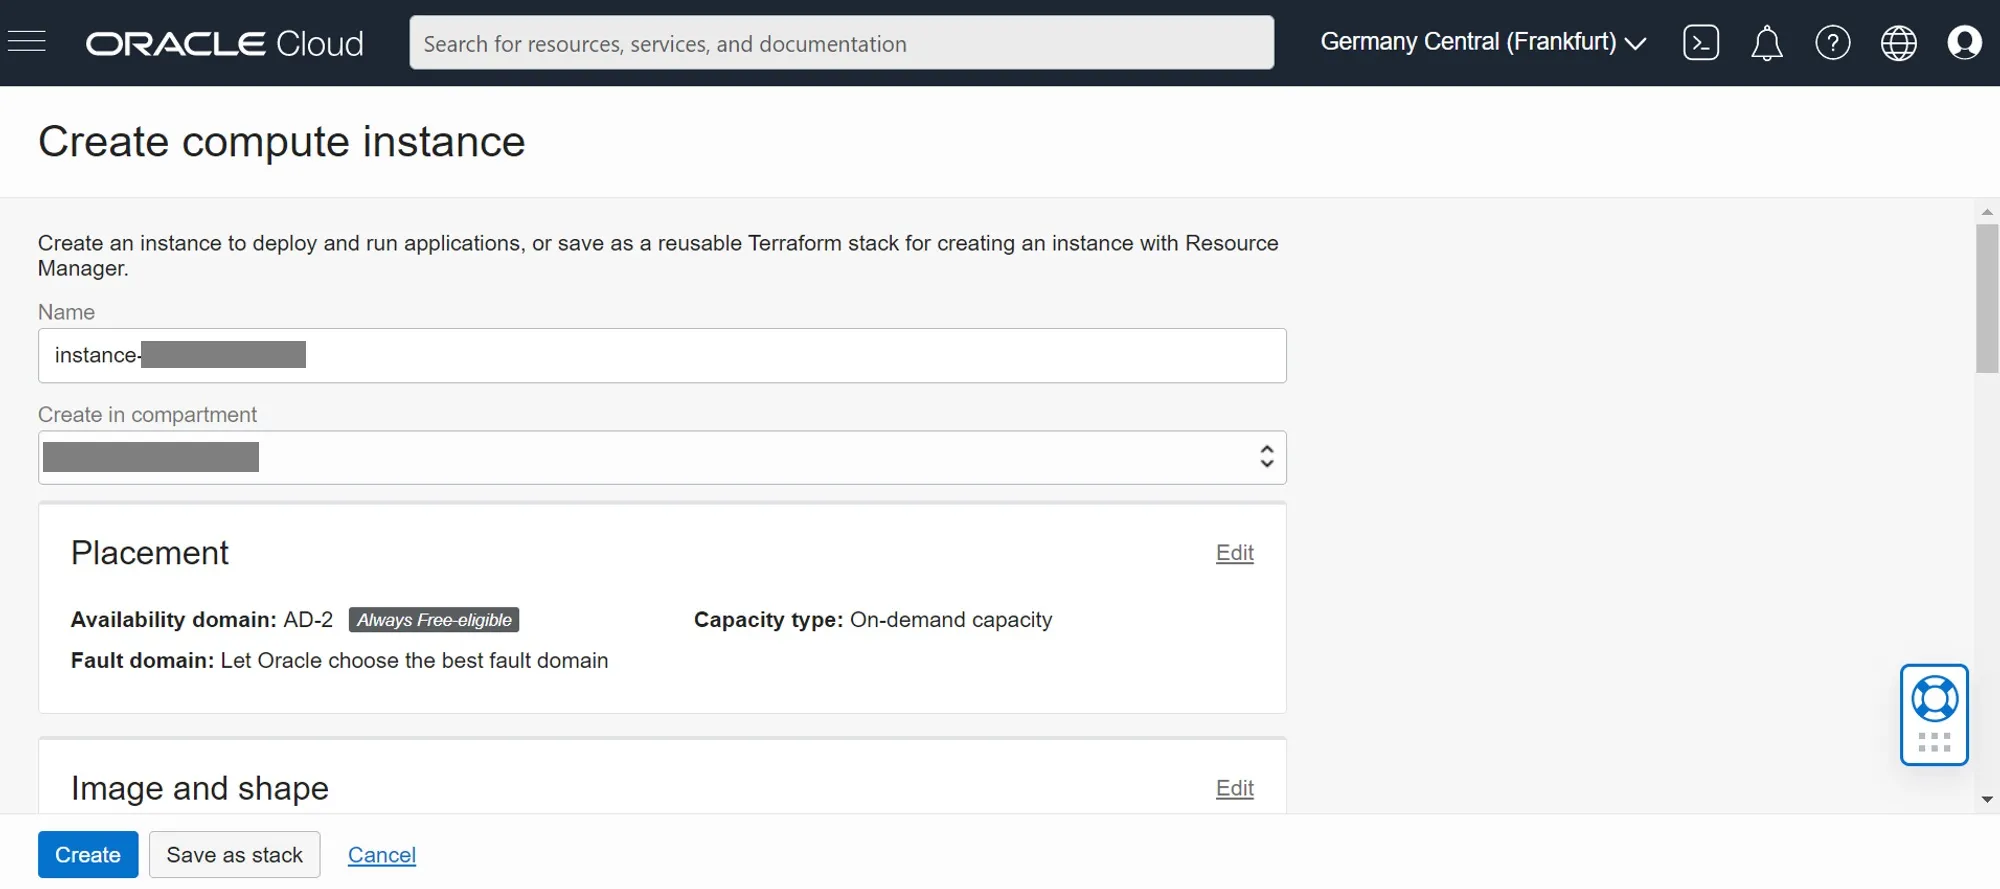
After creating your account navigate to create compute instance, choose your preferred region where
you would like your server to be physically located (for Europe I would recommend eu-frankfurt-1).
For placement choose always free eligible virtual machine as base. Now you can create your server.
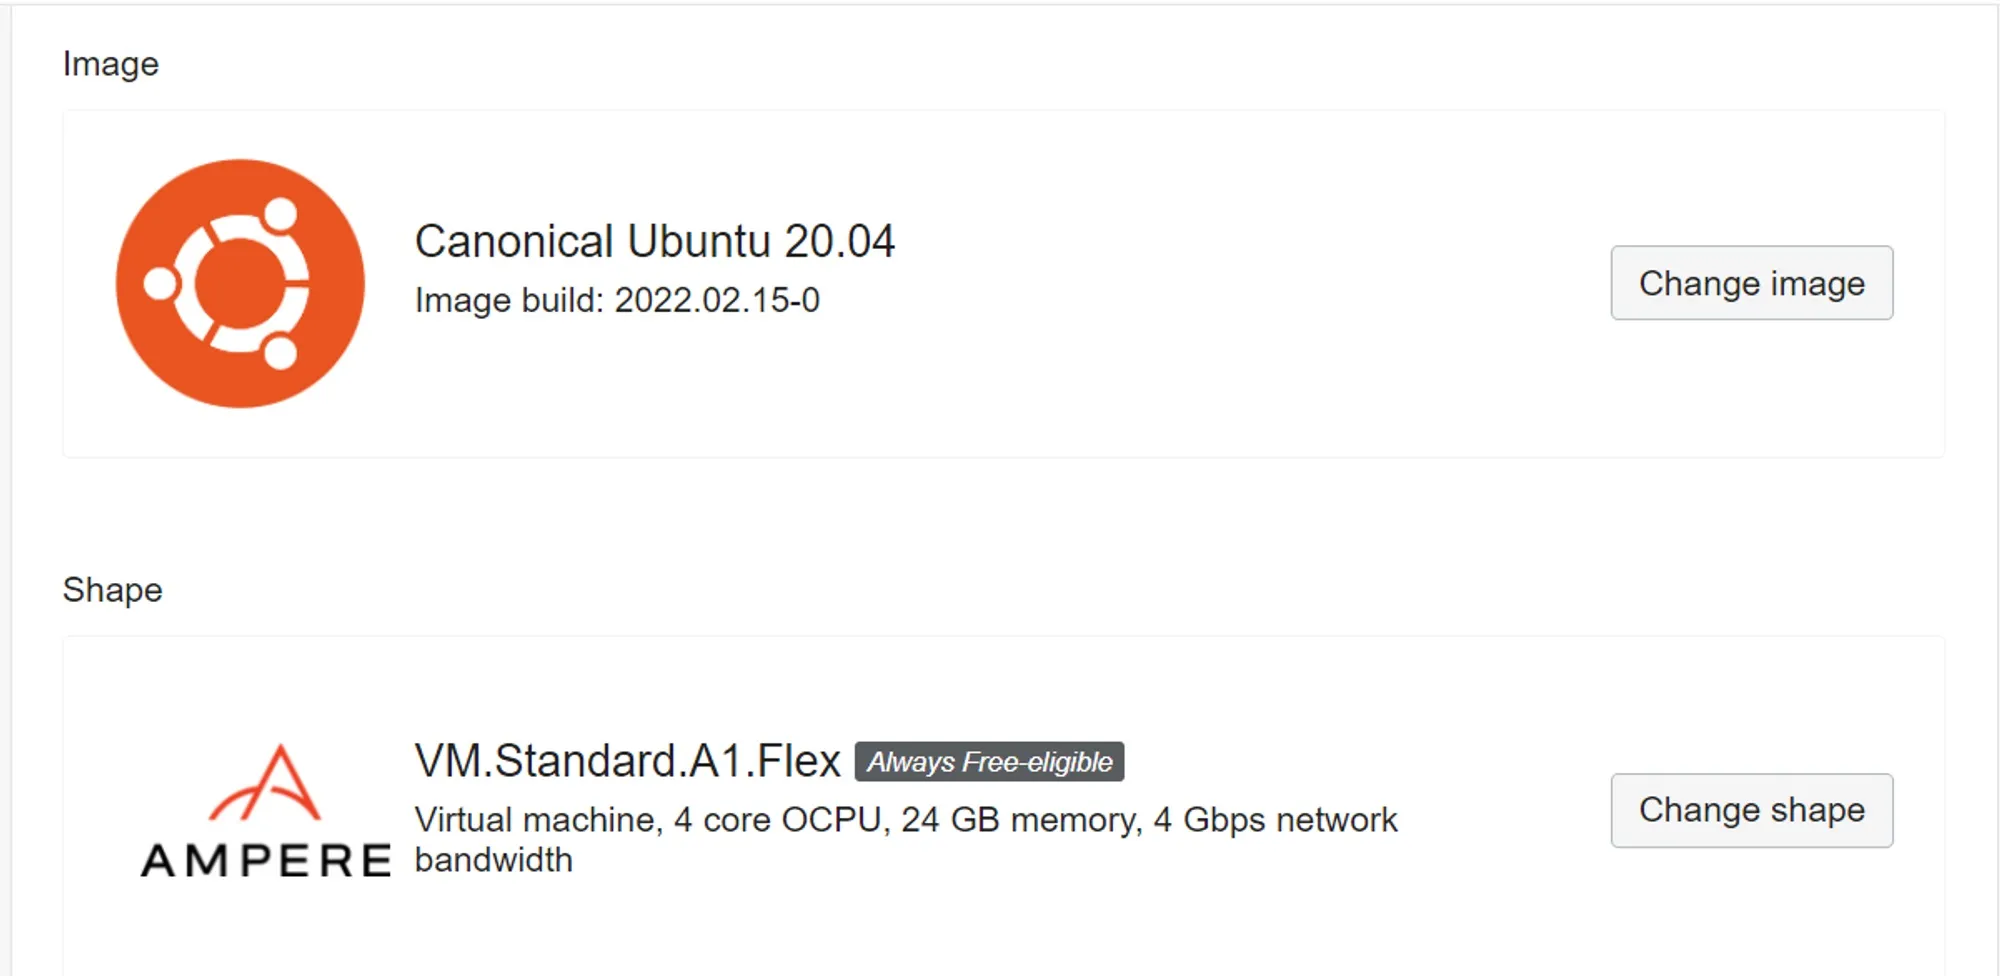
The next step is to select which OS and hardware you want to have for your server.
As your OS image you can choose any you want, but I recommend you to select Ubuntu 20.04 or Ubuntu 22.04.
For shapes the best option is at the moment to choose a VM.Standard.A1.Flex (Ampere ARM).
Allocate the cores and Memory however you like (I would recommend to put it all into one instance to make it more powerful).
💡 By default your instance will have only 47GB hard drive space. However, you can extend the hard drive space later. You can read my blog post here on how to do that.
Save SSH keys
After the instance is successfully created, Oracle will give you access to the SSH-Keys so you can securely access and connect to your server through the command line with ssh. Be aware that this is the only time you will be able to save the private key from the Oracle Dashboard. If you don’t save it you have no way of accessing the server.
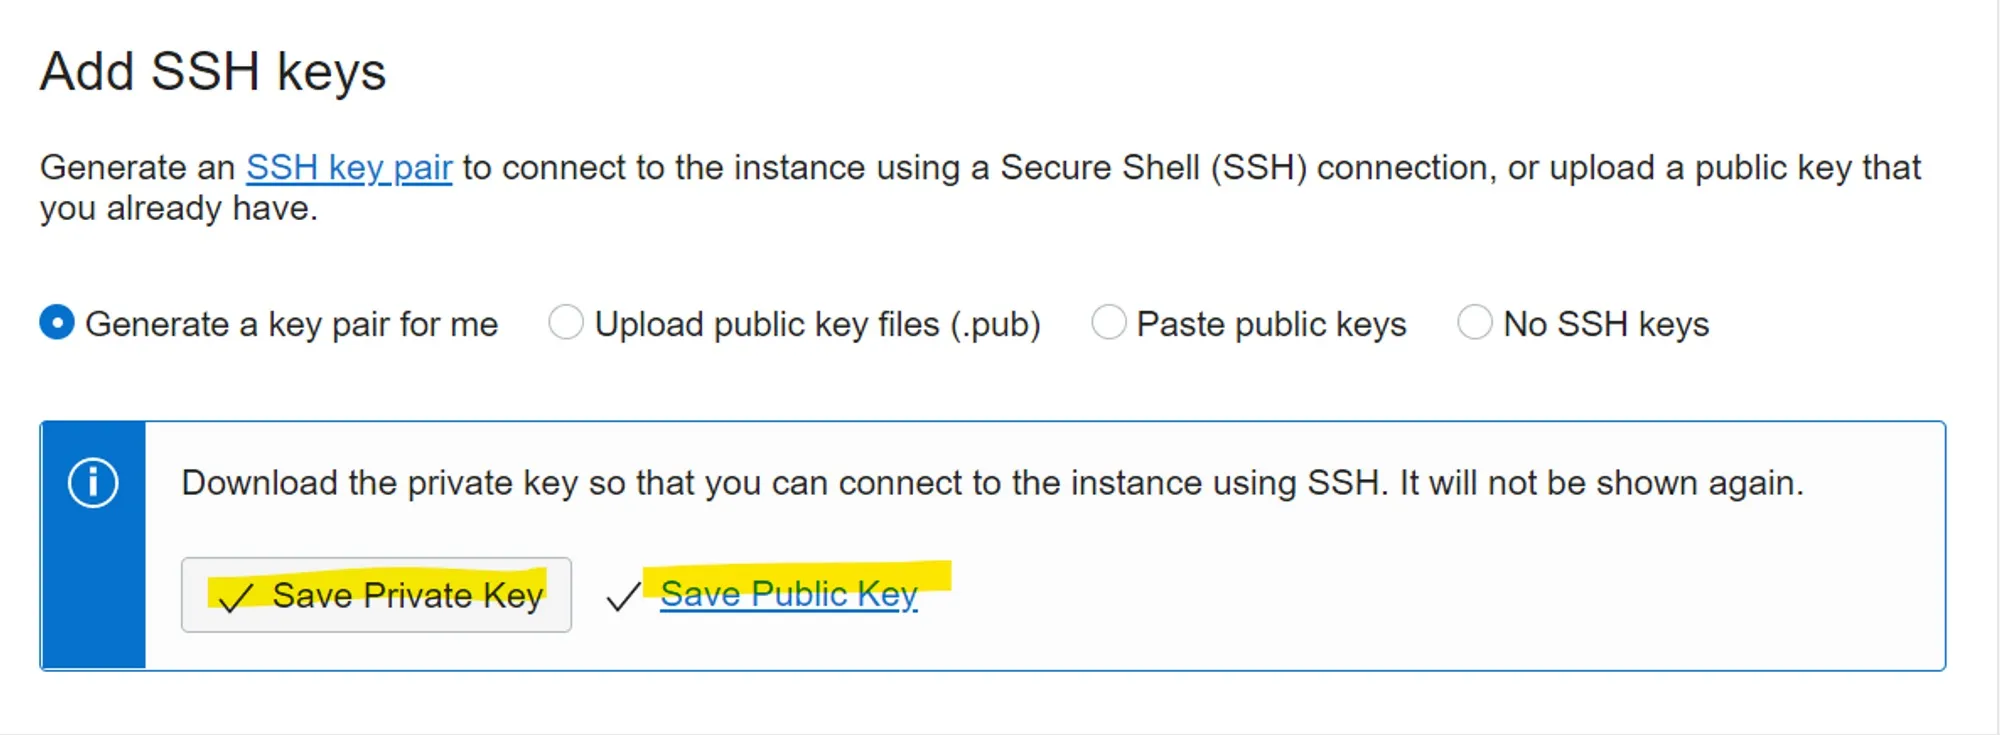
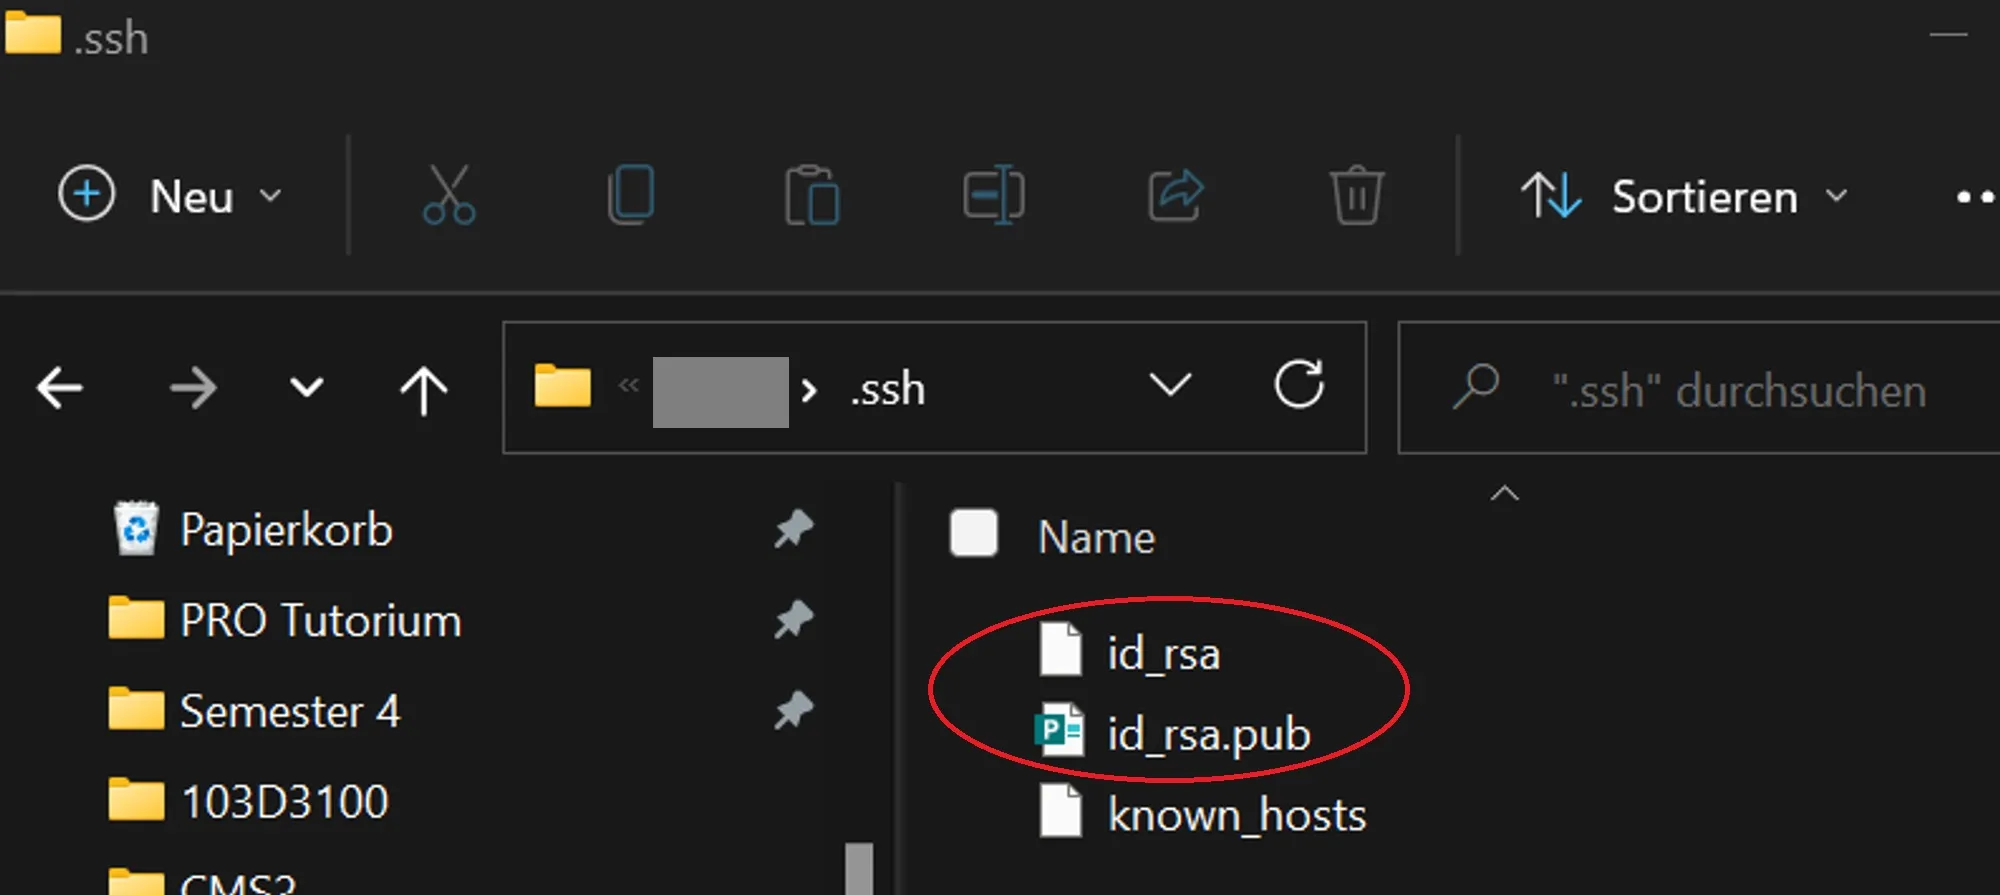
Download and save the private and the public key. Save the private key with the name id_rsa on your PCs into your users ssh folder <your_user>/.ssh. Also save the public key with the file name id_rsa.pub into the .ssh directory.
Connect to Server
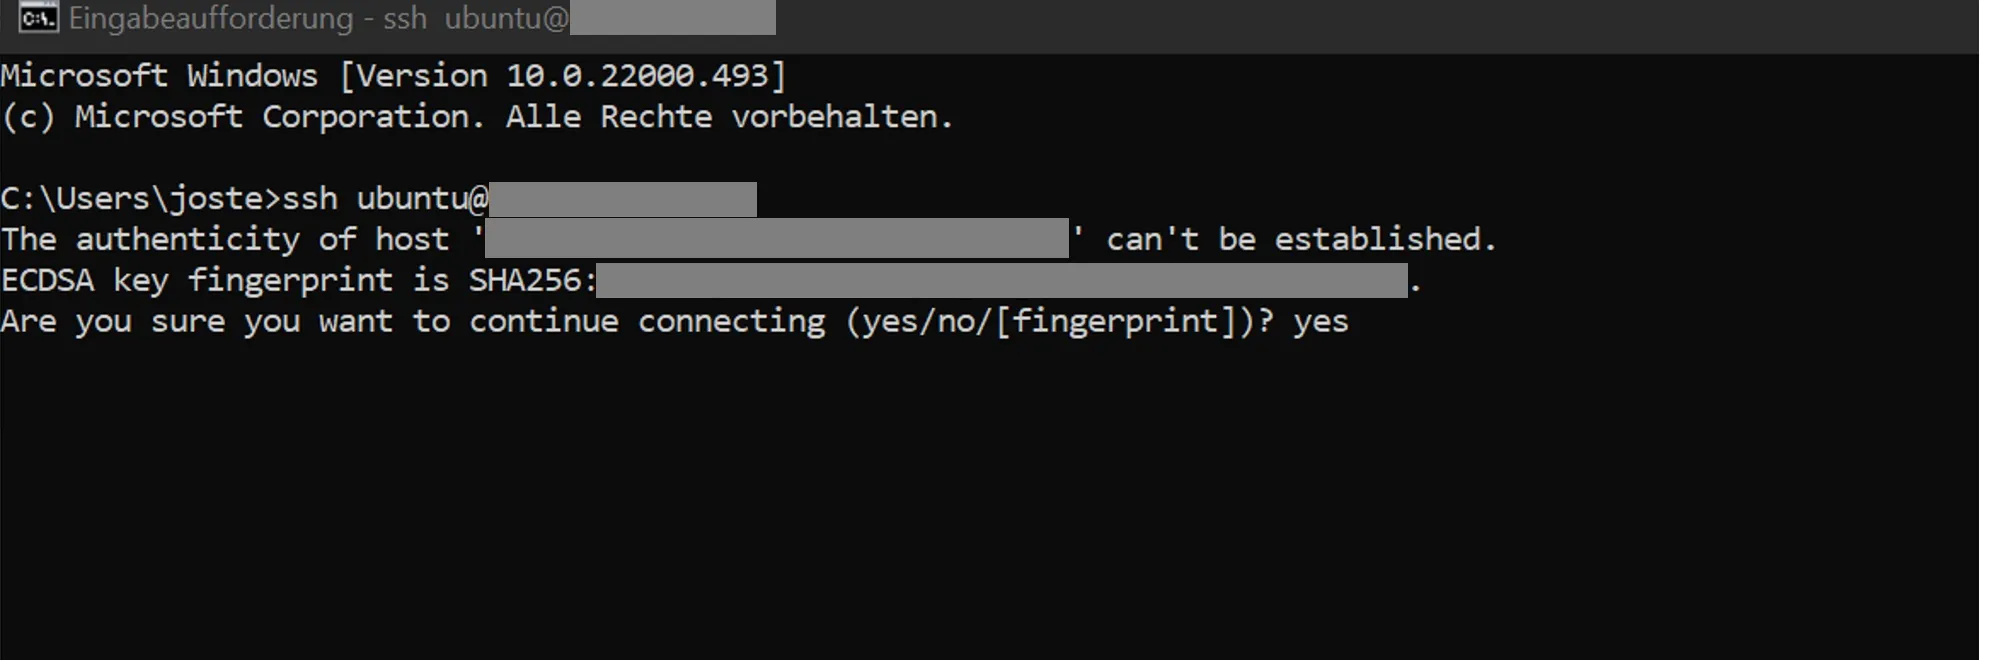
Now everything is set up and you can connect to your server and use it. Look up public IP of your Server in your Dashboard.
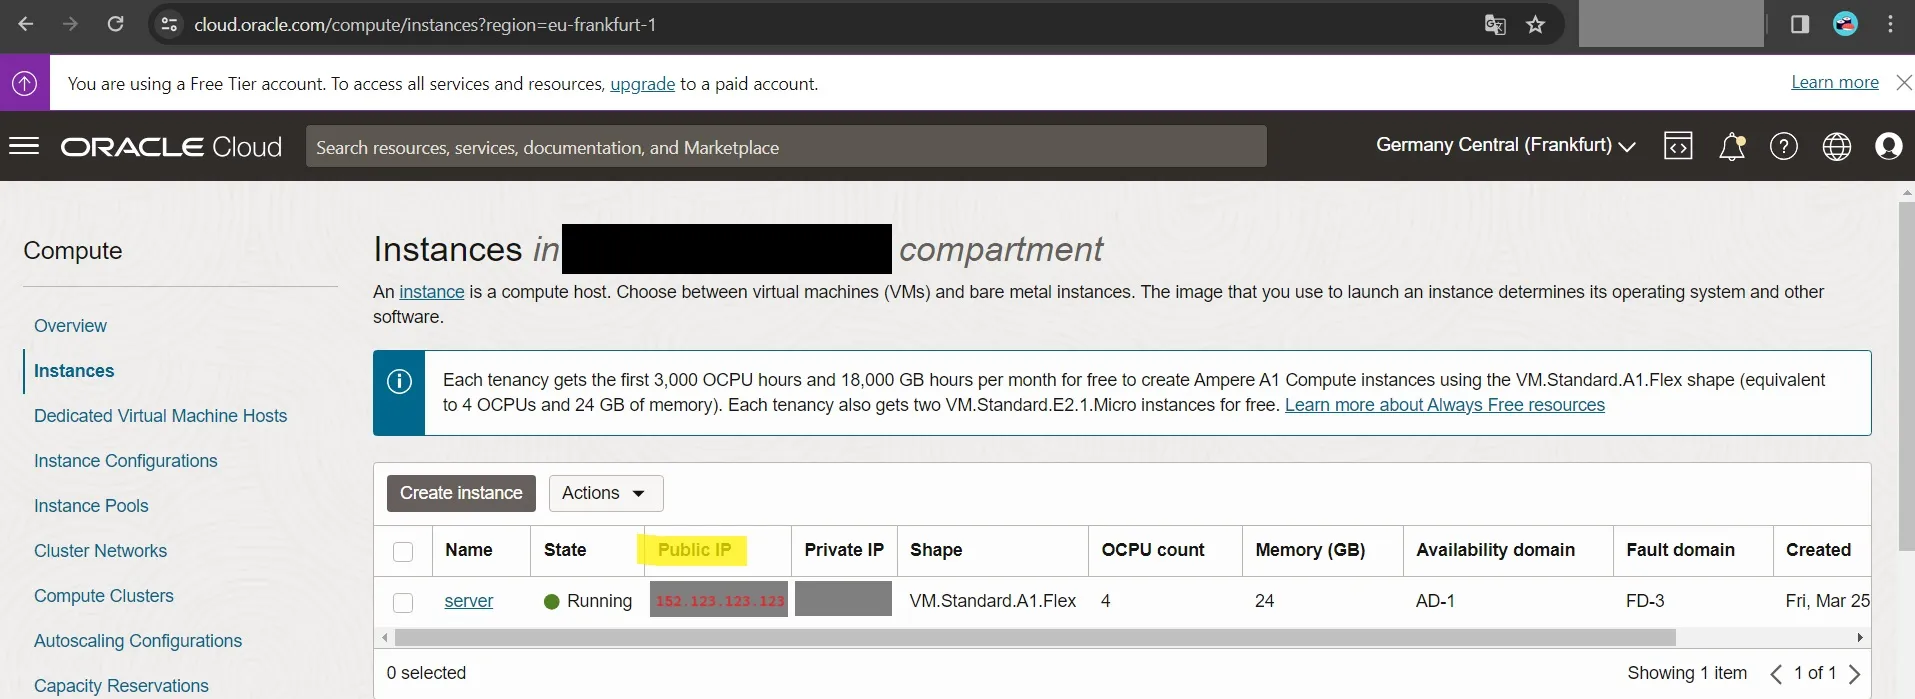
Then connect via command line with ssh to your server.
💡 About 2 months after creating an instance with the Oracle forever free tier your instances may be stopped automatically once, you can restart them without any data loss again through the Oracle dashboard. Then the instance will be basically running forever (my instance is running flawlessly since about 2,5 years now eversince).
⚠️ Reclamation of Idle Compute Instances
Idle Always Free compute instances may be reclaimed by Oracle. Oracle will deem virtual machine and bare metal compute instances as idle if, during a 7-day period, the following are true:
- CPU utilization for the 95th percentile is less than 20%
- Network utilization is less than 20%
- Memory utilization is less than 20% (applies to A1 shapes only)
Done
Now you have a fully functional private Linux Server. You can use it now to host your own website or create your own cloud services. If you want to learn more about how you can use your server to deploy and easily manage any servicves and application read my next blog post “Setting up Self-Hosting with CapRover”.