Have you ever dreamt of hosting your own online empire, like your own website and a your own private cloud service? Especially to beginners that can seem like quite an intimidating and difficult task, but there are easy solutions.
Why Host Your Own Applications and Services
Are you also tired of entrusting tech giants like Google, Microsoft, or Apple with your valuable data, from files to passwords, without a second thought? By hosting your own services you take control of your online presence and privacy. There are many excellent applications like e.g Nextcloud (cloud file storage service) or BitWarden (secure and private password manager) that can replace your dependency on big tech giants. That’s why I want to show you in this blog post, how you can effortlessly deploy and manage a diverse range of applications and services by using CapRover.
What is CapRover?
CapRover is a super easy to use application and database deployment manager. It supports various programming languages, databases and services such as NodeJS, Python, PHP, ASP.NET, Ruby, MySQL, MongoDB, Postgres, WordPress, Nextcloud and many more. It uses Docker, Nginx, LetsEncrypt, and NetData for speed and reliability. Furthermore, CapRover is a free and open source project.
CapRover comes with a Command Line Interface (CLI) for automation and scripting, a Graphical Web User Interface (GUI) for easy access and management, and free SSL certificates with Let’s Encrypt.
Pre-Requisits
You need to meet the following pre-requisits to be able to set up CapRover:
- Domain Name e.g.
your-website.com - A linux instance with
- a public IP e.g.
152.123.123.123 - Ubuntu 20.04 or Ubuntu 22.04
- a public IP e.g.
💡 If you don’t have a Linux Server yet you can check out to my previous blog post about setting up a free Linux Instance on Oracle Cloud for free. If you are still missing a domain name you can follow this guide on Cloudflare
Get public IP and connect to your server
To get started at first look up the public IP of your server and note it down, you will need it later. Then connect to your server via ssh
through command line with ssh <usernamme>@<your_server_ip>.
💡 If you only know the domain but not the IP of your server you can use a IP-Lookup tool like https://iplocation.io/.
Installing NodeJS and NPM (if not already installed)
# download and run nvm install script - see https://github.com/nvm-sh/nvm?tab=readme-ov-file#installing-and-updating for newest version
curl -o- https://raw.githubusercontent.com/nvm-sh/nvm/v0.39.7/install.sh | bash

# close and reopen terminal

# check nvm is installed
command -v nvm

# install node
nvm install node

# check node and npm version
node --version
npm -v
Installing Docker (if not already installed)
⚠️ Please note that it is recommended by CapRover to not use the Docker Snap Pack version!
Please refer to the official documentation on How to Install Docker Engine on Ubuntu. However, if you are lazy you can use the following script that I created which puts the necessary steps together to install Docker:
echo "Uninstalling any previous / conflicting docker versions..."
for pkg in docker.io docker-doc docker-compose docker-compose-v2 podman-docker containerd runc; do
	sudo apt remove $pkg
done

echo "Installing Docker..."
sudo apt update
sudo apt install ca-certificates curl gnupg -y
sudo install -m 0755 -d /etc/apt/keyrings -y
curl -fsSL https://download.docker.com/linux/ubuntu/gpg | sudo gpg --dearmor -o /etc/apt/keyrings/docker.gpg
sudo chmod a+r /etc/apt/keyrings/docker.gpg

echo \
	"deb [arch=\"\$(dpkg --print-architecture)\" signed-by=/etc/apt/keyrings/docker.gpg] https://download.docker.com/linux/ubuntu \
\$((. /etc/os-release && echo \"\$VERSION_CODENAME\")) stable" |
	sudo tee /etc/apt/sources.list.d/docker.list >/dev/null

sudo apt update
sudo apt install docker-ce docker-ce-cli containerd.io docker-buildx-plugin docker-compose-plugin -y
sudo docker version
sudo docker run hello-world
echo "Installed Docker"
Also follow the Docker Post-installation steps for Linux to make sure your Docker setup is working properly before proceeding.
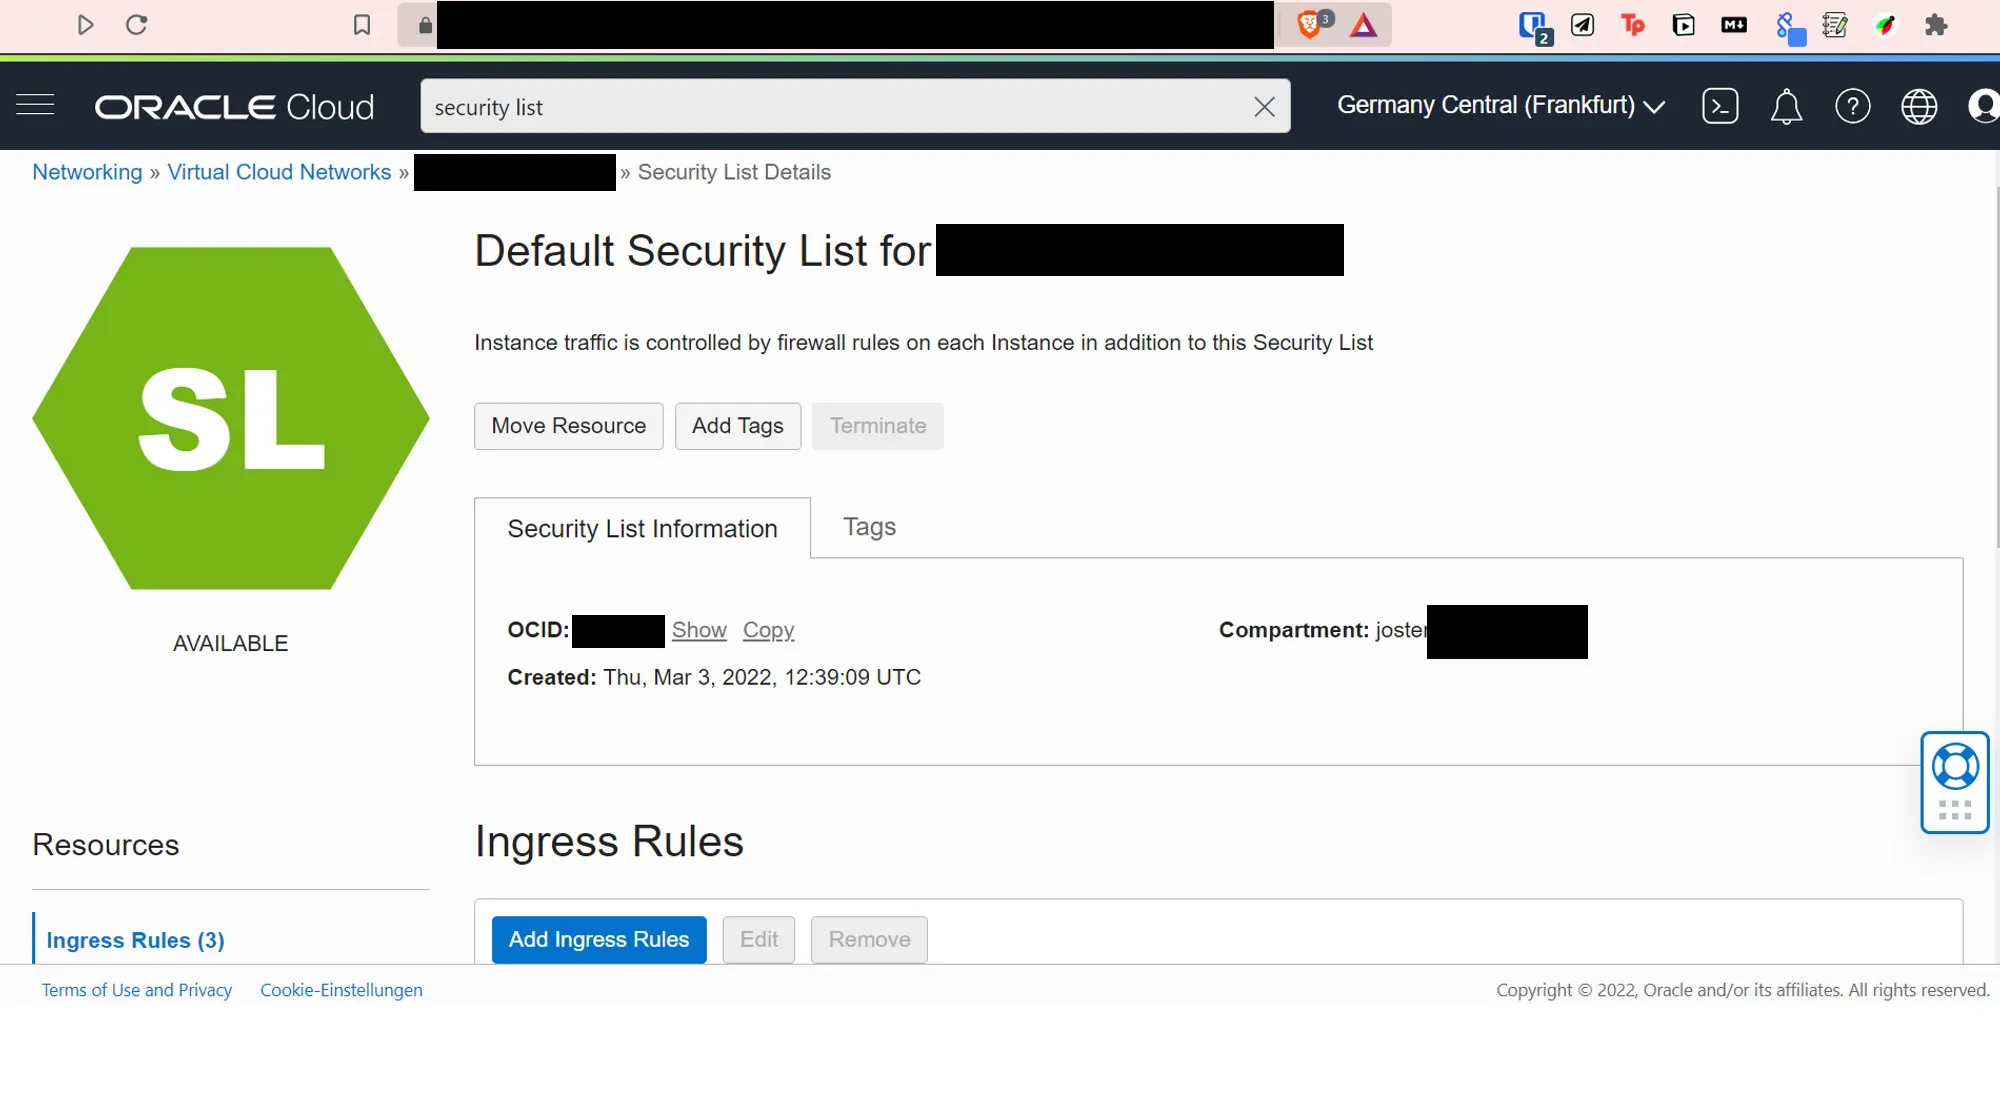
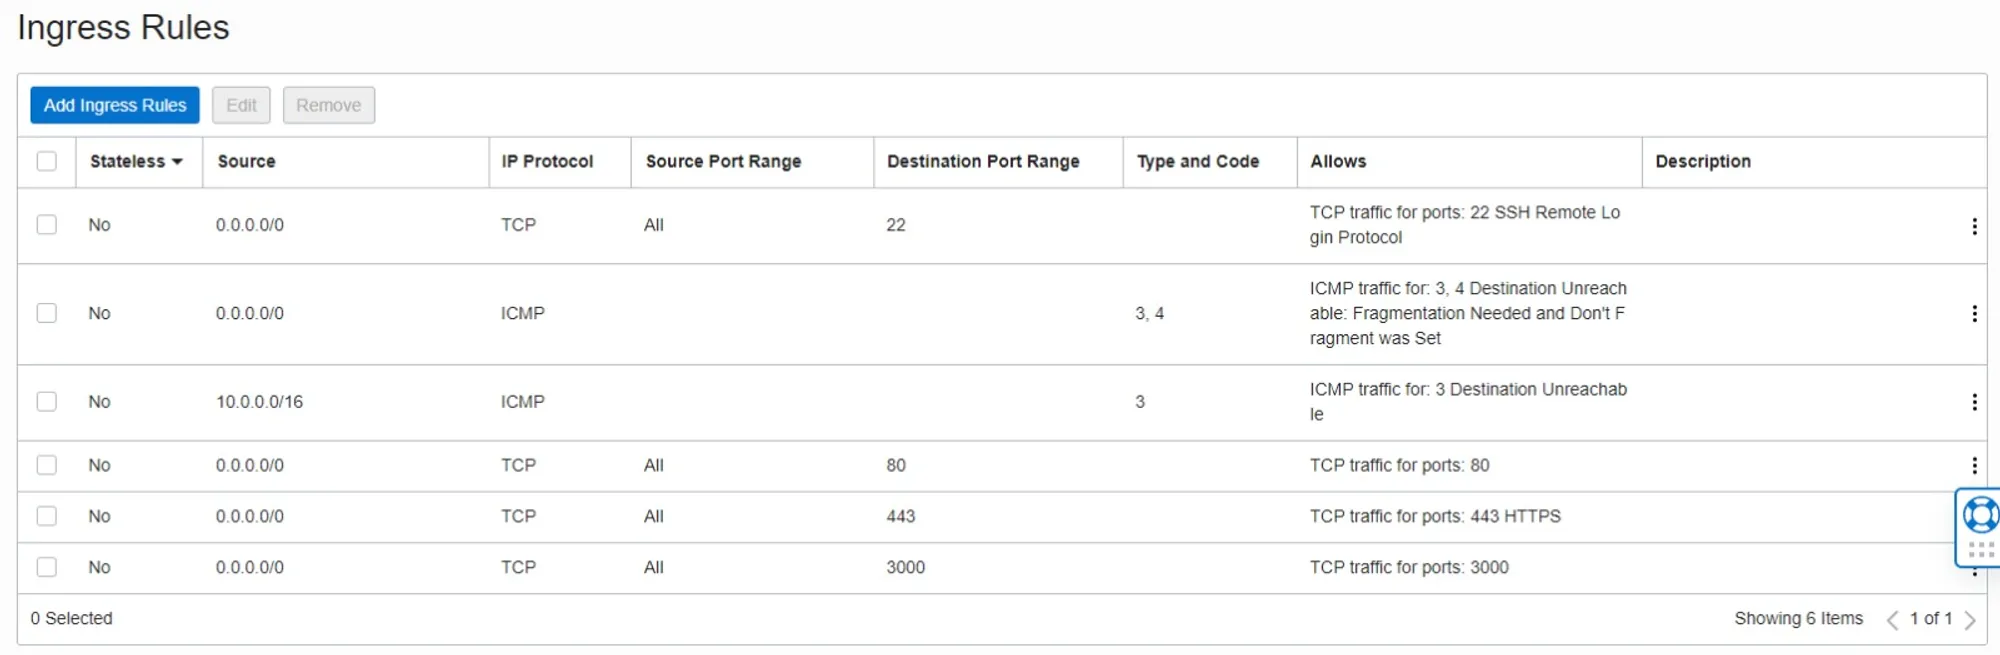
Port Security Setup (if using Oracle Cloud)
Before installing Caprover we need to make sure to enable Port 80 443 3000 in the Security-List of your Oracle Server Instance
by adding Ingress Rules for them. See the correct entries in the picture below.
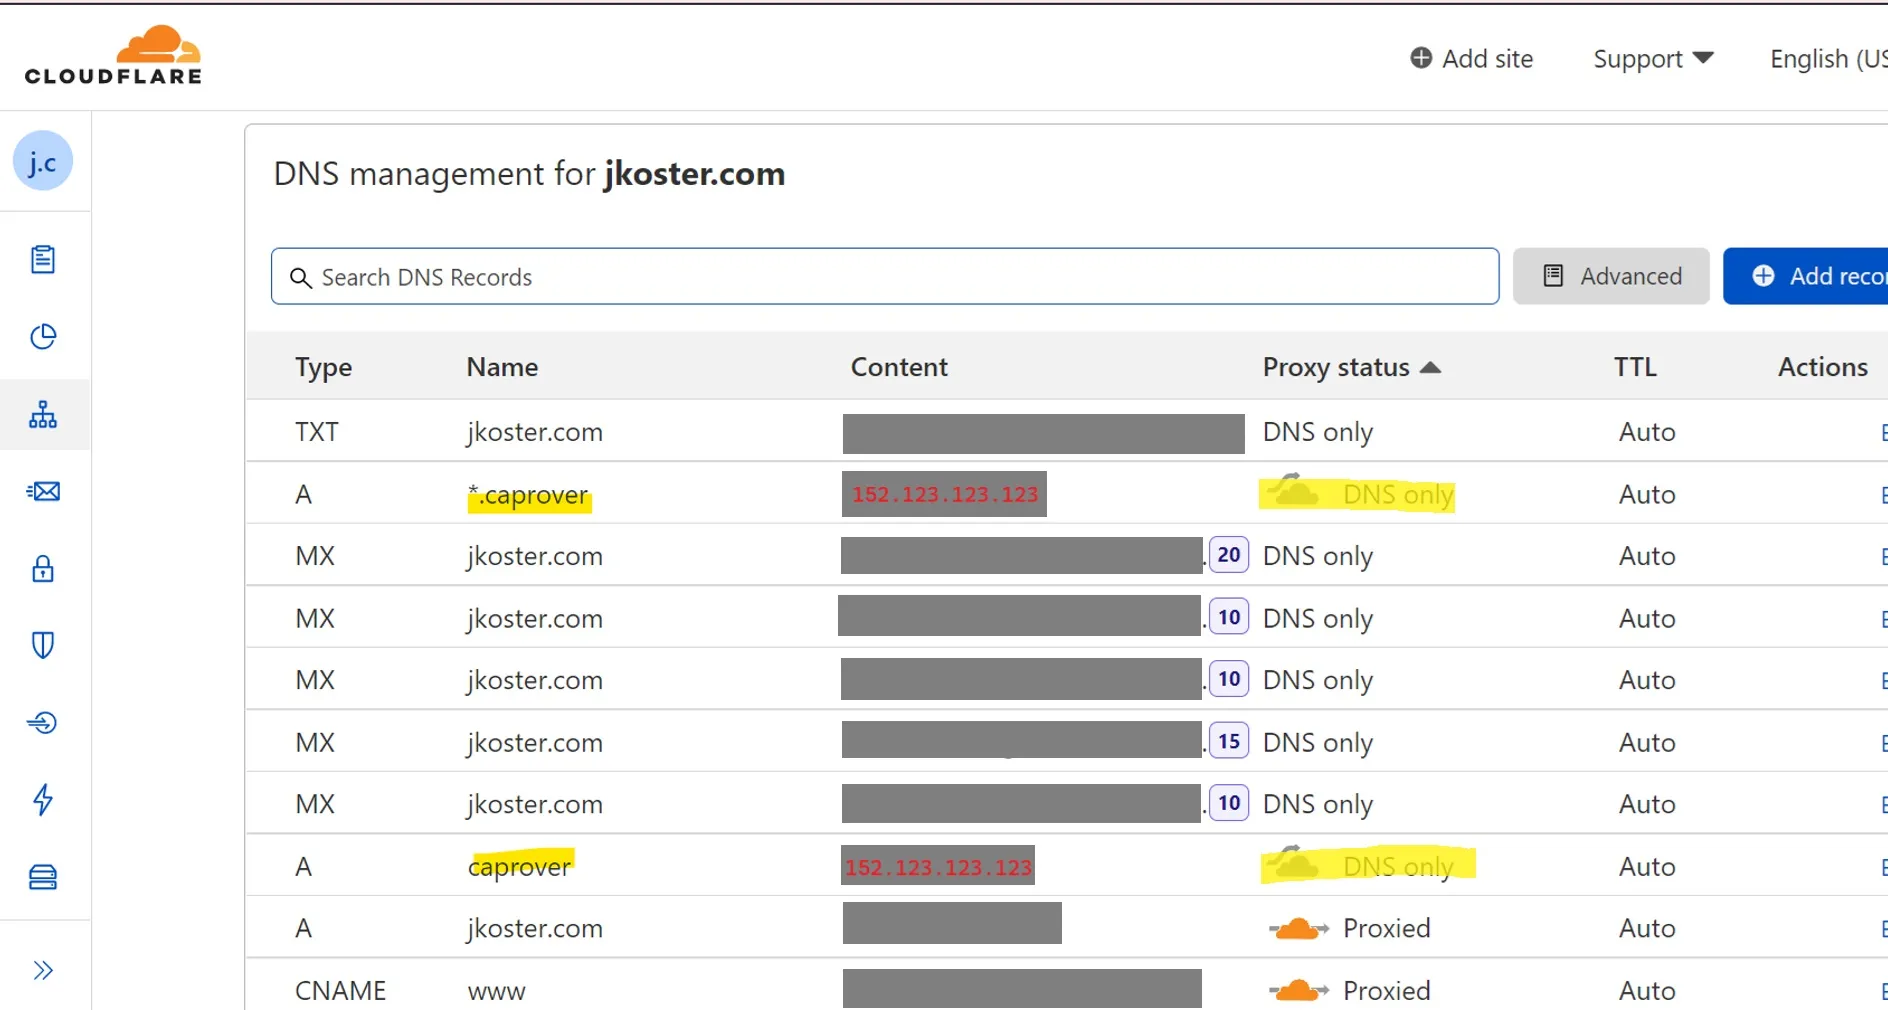
Configure Domain DNS
In the DNS settings of your Domain-Registrar (I can strongly recommend you to use Cloudflare)
you need to configure the domain that you want to connect with your CapRover instance (e.g. your-website.com).
For this reason you need to add two records in your DNS settings. One A-record for your CapRover as subdomain <caprover_subdomain>
and another A-record with a wild card for all subdomains of CapRover *.<caprover_subdomain> that both point to the IP of your instance.
💡 Choose the “DNS only” option in Cloudflare since CapRover does not officially support use cases with proxy services.
Install CapRover
You can follow the official documentation on the installation of CapRover for more detailed information and explanations. Here are the necessary commands you need to run to setup CapRover.
- Configure Server Firewall for CapRover
ufw allow 80,443,3000,996,7946,4789,2377/tcp; ufw allow 7946,4789,2377/udp;- Install and run CapRover Docker Image
docker run -p 80:80 -p 443:443 -p 3000:3000 -e ACCEPTED_TERMS=true -v /var/run/docker.sock:/var/run/docker.sock -v /captain:/captain caprover/caprover- Install CapRover CLI
npm install -g caprover- Setup CapRover
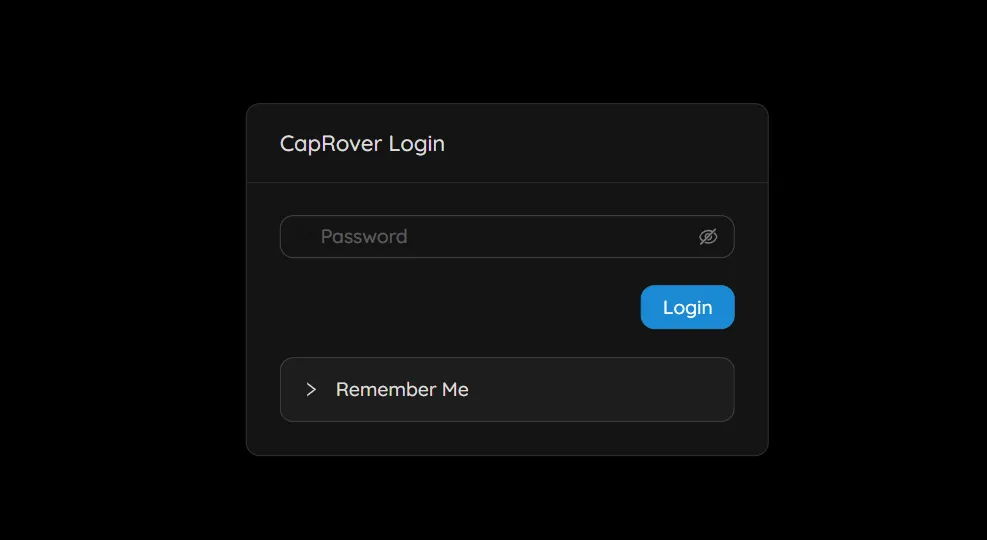
caprover serversetupFollow the steps required by the command and login to your CapRover instance.
When prompted to enter the root domain, enter the <caprover_subdomain>.your-website.com assuming that
you set *.<caprover_subdomain>.your-website.com to point to your IP address your DNS settings.
Now you can access your CapRover Dashboard from <caprover_subdomain>.your-website.com.
Done
You successfully installed CapRover 🥳. You can now easily deploy and docker images as apps on your server or deploy applications with just one click. You can explore the available “One-Click-Apps” here.
💡 If you want to learn how to deploy your own custom apps (e.g. an ExpressJS API, or some PHP application,…) you can read about it in my blog post Deploying custom Apps with CapRover. For hosting your own cloud service you can follow my guide on setting up Nextcloud with CapRover.